Building a NAS
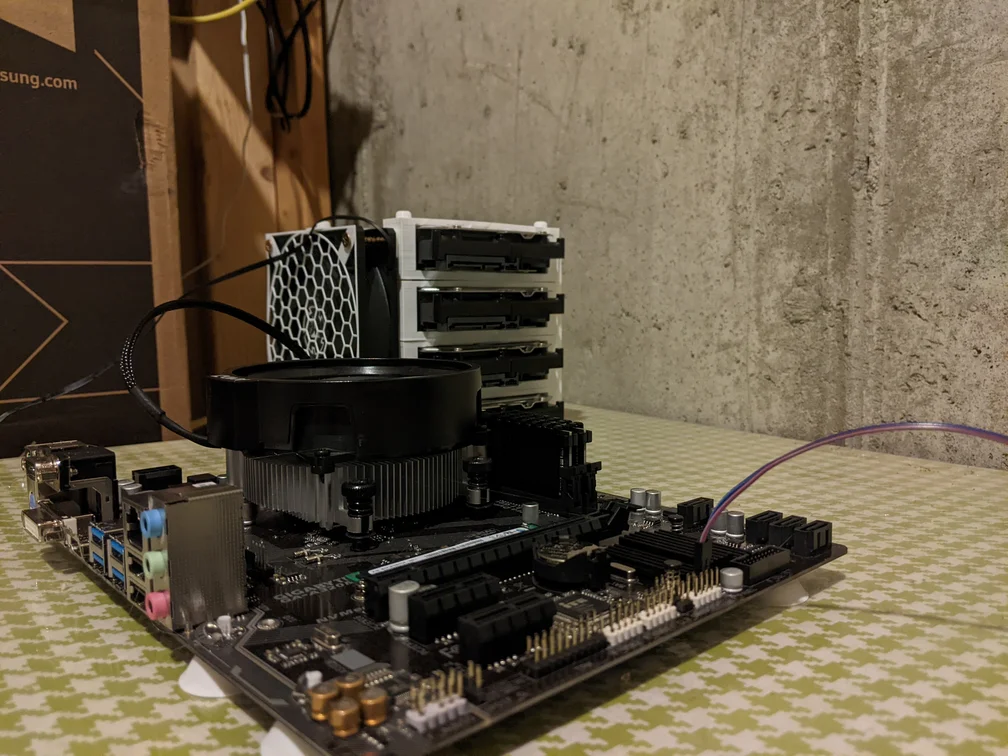
Computer 🖥️
Ryzen 2200G, 16gb of RAM, bronze PSU, 4 - 8TB Barracuda Compute Seagate HDD.
The file system is configured for ZFS RAIDZ-1. RAIDZ-1 is a lot like RAID-5.
Setting up ZFS 💾
This guide is geared towards ZFS RAIDZ-1. This requires at least 3 drives.
For your ZFS installation you have two choices.
- Guide for installing OpenZFS
- This is an open source alternative to Oracle’s ZFS project. Very similar to Oracle’s ZFS.
- Guide for installing ZFS
- This is Oracle’s proprietary ZFS. Extremely similar to OpenZFS.
According to Jeff Geerling to prepare the drives to be formated for ZFS you have to do this… This will erase everything on the drives.
sudo umount /dev/sda?; sudo wipefs --all --force /dev/sda?; sudo wipefs --all --force /dev/sda
sudo umount /dev/sdb?; sudo wipefs --all --force /dev/sdb?; sudo wipefs --all --force /dev/sdb
sudo umount /dev/sdc?; sudo wipefs --all --force /dev/sdc?; sudo wipefs --all --force /dev/sdc
Run the above commands for each drive that you want in the pool. You can find these drives by using the command lsblk.
Run the command below to create a pool. Make sure to include every drive you want in the pool.
sudo zpool create zfspool raidz1 sda sdb sdc -f
After some research I found that you should almost always turn on ZFS compression.
sudo zfs set compression=on zfspool
Now your pool should be configured. You can review the status of the pool by using…
zpool status
If I would setup it up again, I would probably use OpenZFS which is an open source implementation of Oracle’s propritary ZFS system. But at the time, I didn’t know I was using Oracle’s propritary ZFS system, so I ended up with that.
Apps
Docker
After using docker for a while I quickly realized the limitations of the tool. Every time you want to make a change or update the container you have to recreate the application from the ground up. All of the configuration you do inside the application all gets removed and you start fresh every time. Oh, and if you want to actually update it, you have to manually remove the container and rerun your docker command.
The solution to all of these is quite simple. Don’t use DOCKER. Instead use docker-compose.
Docker compose essentially automates the whole process for the user. All you have to do is save a docker-compose.yml file which configures the application. At any time you can pull the latest updates and have your docker back up and running. But wait, what about the application’s config? Yeah, by default it will be wiped every time. The solution is to mount the configuration of the file in a volume.
Volumes are way of passing files from your local file system back into your application. The app has no access to any files outside the container by default. The solution is to now mount the configuration of the application back into your file system outside your container. Then the application will write to that mounted directory it’s configuration files and the files will no longer be dependent on the application. You can modify them outside of the application, you can remove the application and recreate it and if you still have the config files mounted then the application will continue to maintain persistence when you make changes to it.
Linux Server I can’t recommend using their dockers enough. They essentially take a lot of self hosted applications that people use and make them easier. Configuration is often done with one config folder, just mount it once and boom you are done. Using and configuring their apps are a lot more intuitive than others. But what about the updates? Yeah I mean you can only assume if you use someone else’s packages you are at the mercy of them maintaining it. But you don’t have to worry about it with Linux Server. They have some sort of bot/script that seems to generate these packages whenever updates go through on the apps. Which means you get the latest applications, and don’t have to worry about missing features or vulnerabilities.
Apps I currently use:
SWAG
This application is built ontop of nginx. Nginx is a web server and a reverse proxy. Swag is just amazing. It just makes your life easier. It has reverse proxy templates for most applications that you would want to run. You simply just have to change the file name to enable them. Anyways, it’s really nice so you can have you domain point to multiple apps easily. It also containers certbot which essentially is able to give your website HTTPS encryption all you have to do is configure your domain, add your email to the environment variable, and boom you got an HTTPS website. It comes with other stuff to like cloudflare integration, and many other useful things that just save you so much time.
In order to enable reverse proxy on your apps, locate your swag config folder then go to nginx/proxy-confs. You will see a huge list of all the apps, locate the app you want to reverse proxy.
When you reverse proxy, you will usually have two options…
- subfolder
- example.com/myapp
- requires no extra ssl certificates to sign
- no dns configuration required
- subdomain
- myapp.example.com
- every subdomain needs a signed ssl certificate
- requires subdomain to be added to the “SUBDOMAINS” environment variable in docker compose
- requires cname record to to be added to dns
I perfer to reverse proxy subfolders, they are a lot less work than subdomains, but certain apps will require a subdomain reverse proxy.
To enable the reverse proxy for your app, just copy the myapp.subdomain/subfolder.conf.sample to myapp.subdomain/subfolder.conf. Essentially just remove the .sample portion of the file name, that will activate it to be used by the reverse proxy. Please note that if you don’t rename your containers correctly this will not work. In the proxy configs it uses the container name to get the ip address of the container through the docker network. If you use the ip address of the container in the reverse proxy instead of the name you will have problems because the ip addresses get changed everytime you initialize your containers. So it’s best to use the name in the reverse proxy.
After configuring the reverse proxy you need to restart the swag service using…
sudo docker-compose restart swag
Docker Tips
Once you have created your docker compose file with all your apps, make sure you keep it updated. Outdated apps can potentially have vulnerabilities that would allow attackers to exploit your server.
To update your containers use this…
sudo docker-compose pull
Followed by…
sudo docker-compose up -d
The above command recreates the updated containers. Whenever you change the docker-compose file you want to run the above command to recreate the new containers.
Docker images never get deleted when you update your containers. Previous images stay on the disk, which can build up over time and consume a lot of storage space. In order to delete the old unused images use this command.
sudo docker image prune
Conclusion
Just getting started with self hosting applications is a difficult task. Especially if you don’t have any prior Linux experience.
It’s dangerous to go alone, take this Linux Server docs. Everything over there is very beginner friendly and extremely useful when getting started on your self hosting journey.