
ASRock BC250 - Building the Budget Steam Machine
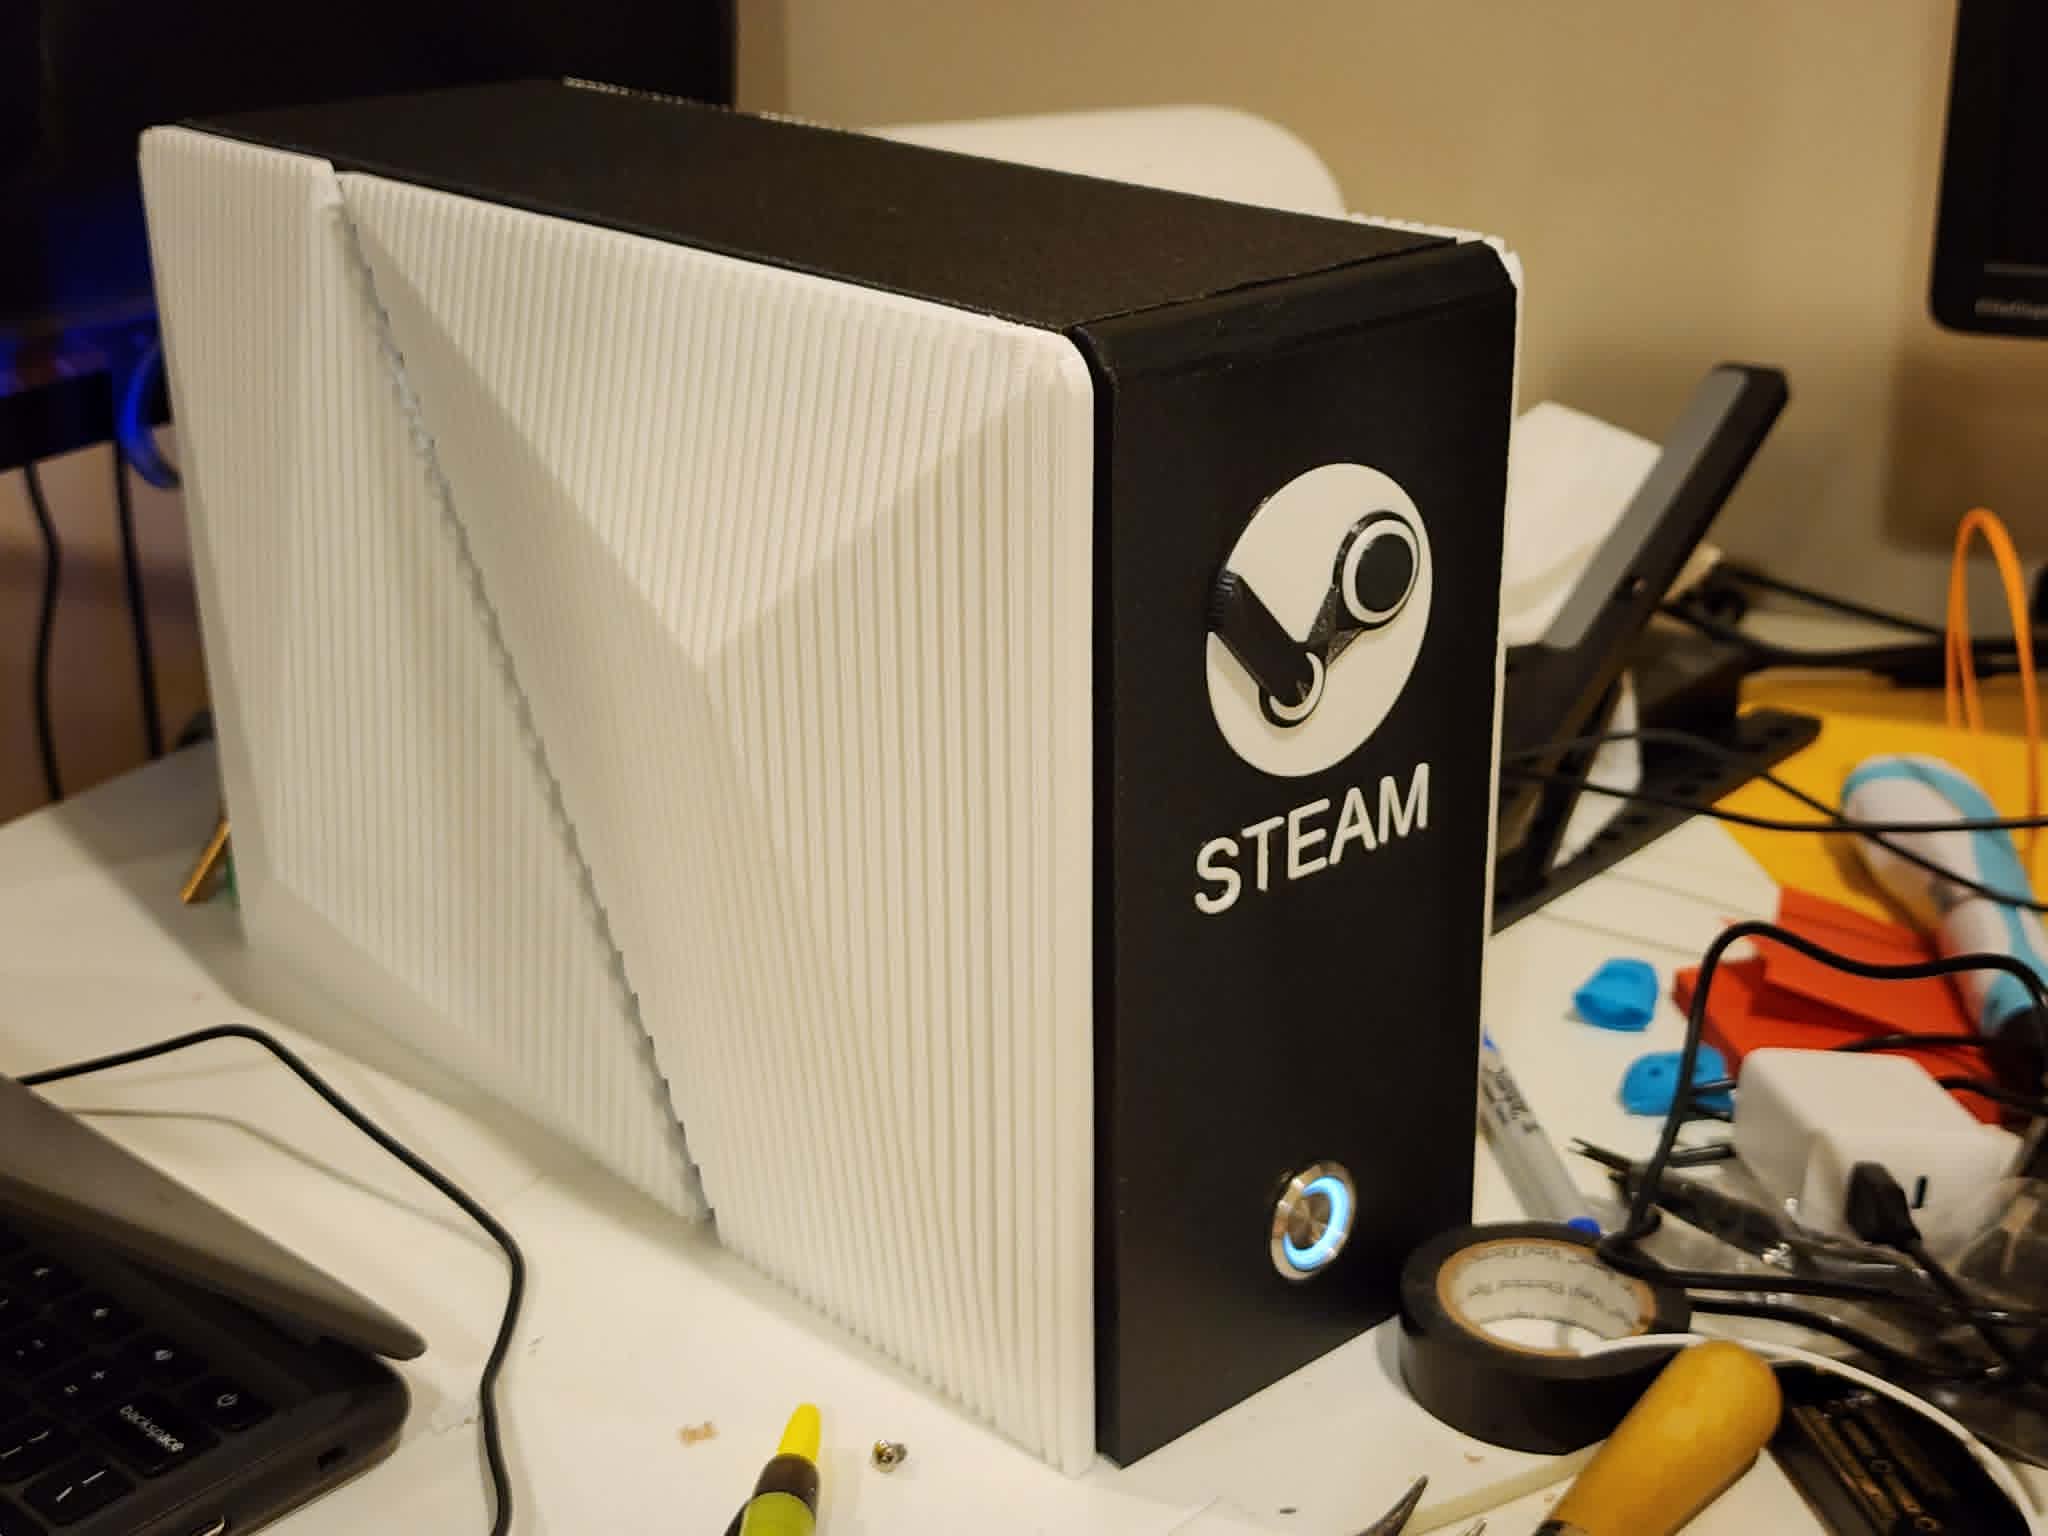
My complete guide for setting up the ASRock BC-250. You can’t beat its price for performance, and it’s perfect for those who love tinkering with projects.
TL;DR (For those with BC-250 experience):
- Use 6GB VRAM allocation: It still dynamically allocates, but some games will have terrible texture quality if you use 512MB. It will take a chunk of your usable system RAM away, but it won’t matter in practice.
- Disable Steam precached shader downloading: This needs to be recommended more! With it enabled, you download a generic shader cache that doesn’t match the BC-250. Every time you launch a game it redownloads, overwriting any background-processed shader cache the BC-250 generated.
- Undervolt & Overclock CPU: There is no reason not to! With the 40CU unlock, that leaves extra room for CPU overclocking. Try to get 4.0GHz if you can, (I can only reach 3.8GHz).
- Bazzite Users- Disable HHD daemon: This causes constant stuttering every couple of seconds. I noticed this issue when basic 2D games seemed to have consistent lag spikes.
sudo systemctl disable --now hhd.service
sudo systemctl mask hhd.service
Hardware
BIOS Flashing
VRAM allocation
- 512MB is recommended by most.
- 6GB is my recommendation.
Chipset -> Integrated Graphics Controller -> Forces
- UMA Mode -> UMA_SPECIFIED
- UMA Frame buffer Size -> 6GB
Cooling
Don’t bother with buying two fans. Only one really makes a difference. See very helpful Reddit post for the full breakdown.
- Artic P12 Pro (Recommended)
- Noctua NF-A12x25 (Less pressure than Artics, but still does the job perfectly fine)
Set your fan curve in the BIOS.
Software
GPU Governor
Out of the box, the BC250 GPU is locked to 1500MHz. The cyan-skillfish-smu GPU governor allows for dynamic scaling of GPU clock speeds to match demand. It is highly recommended for both decreasing idle power usage and dramatically increasing game performance.
Installation
CachyOS:
yay -S cyan-skillfish-smu
Bazzite:
sudo dnf copr enable filippor/bazzite
sudo rpm-ostree install cyan-skillfish-governor-smu
systemctl reboot
Configuration
Once installed, edit the config file: /etc/cyan-skillfish-governor-smu/config.toml.
These are extremely safe defaults meant to work on everyone’s BC-250. However, there’s a good chance you can squeeze out more performance with less power while improving thermals.
Frequency Range
[frequency-range]
min = 1000   # MHz (350 is the absolute minimum good silicon can go)
max = 1850   # MHz
We’ll start by updating the frequency-range. The max of 1850 MHz is a “sweet spot” once you enable the additional GPU CUs (Compute Units) in the next step. Going beyond 1850 doesn’t improve performance much but dramatically increases power draw and heat. If you don’t enable extra CUs, you’ll need to bump the max MHz to 2000 (safe) and up 2200 MHz if you can. But realistically, there is no reason to do this once you enable the additional CUs.
We’ll also start by lowering the minimum frequency range. This improves power draw on idle and in less-demanding games.
Follow this process below:
- Decrease
minfrequency-range in increments of 100. - Save & exit the config.
sudo systemctl restart cyan-skillfish-smu
Keep repeating these steps until your system becomes unstable and crashes. Then revert to the lowest stable value.
I was lucky enough to have a system stable at 350 MHz. But your milage may vary.
Load Targets
Next, I like to adjust the load-target values. This is entirely a matter of personal preference, feel free to skip. These are percentage values of GPU utilization. upper defines at which percentage the GPU must be used to clock up. lower defines the percentage of utilization for clocking down. The defaults are very unwilling to clock down, even in less demanding games.
# %
[load-target]
upper = 0.65
lower = 0.35  # Default is 0.50
These settings work perfect for me. It cranks the GPU just enough for less demanding games without giving it more power than it needs.
Safe-point voltages
You’ll find safe-points defined for many GPU frequencies. Again, the voltages are very safe defaults, you can probably get away with lowering many of them to achieve better thermals and lower power without compromising performance.
Work through them one at a time. Drop it by increments of 50mV, then test each frequency to ensure system stability. This example forces the GPU to a fixed frequency of 500 MHz.
cyan-skillfish-performance-mode --fixed-frequency 500
To ensure that frequency applied, run:
cat /sys/class/drm/card1/device/pp_dpm_sclk
The current GPU frequency is the one with the (*). Continue decreasing the voltage by 50mV until the system becomes unstable; then revert to last working config and move on to the next safe-point voltage value.
Once you are done testing specific frequencies, disable performance mode.
cyan-skillfish-performance-mode --off
Enable Governor on Boot
Now that all your settings are dialed in, you are safe to have them persist on boot:
sudo systemctl enable --now cyan-skillfish-governor-smu
Warning: Make sure your settings are stable before enabling this. Otherwise, you’ll have a bad time if you get stuck crashing on every reboot.
40CU Unlock
By default the BC-250 ships with 24 CUs (Compute Units) on the GPU. In comparison the PS5 ships with 36 CUs. These binned crypto boards were stripped down, however the underlying hardware is still there–we just need to enable it.
Not all boards are created equally, some may work with all 40 CUs, others will only work with 38 or 36. Either way, there’s lots of performance and better efficiency to be had by enabling these units.
The BC250 Live Manager tool allows us to enable CUs on the fly.
Installation
Download the official script and make it an executable:
curl -L -o bc250-cu-live-manager.sh https://raw.githubusercontent.com/WinnieLV/bc250-cu-live-manager/refs/heads/main/bc250-cu-live-manager.sh
chmod +x bc250-cu-live-manager.sh
Start the interactive TUI:
sudo ./bc250-cu-live-manager.sh
- On Bazzite, it will ask you to install UMR. Luckily, it will run you through the installation process in the interactive UI.
- On CachyOS, install it from the AUR:
yay -S umr
Once installed you can start the interactive UI again.
Enabling CUs
To quickly figure out if you “won the silicon lottery,” press ‘f’ to enable all CUs. You’ll know very quickly whether you did. If your system didn’t crash or freeze, you won! And you are safe to press ‘w’ to write the table and ‘i’ to install the service (to apply settings on boot).
If you weren’t so fortunate, you need to test each pair of CUs individually until you find the faulty one(s). Once you do, just leave them blank and don’t enable them. After working your way through all the CUs and found a stable config, write the table and install the service.
Congratulations! Enjoy the free performance and power-efficiency gains!
CPU overclock & undervolt
The bc250-smu-oc tool allows users to overclock and undervolt their CPUs.
Installation
Step 1: Download Stress Dependency
CachyOS:
sudo pacman -S stress
Bazzite:
Navigate to fedora.pkgs.org. Search for “stress” and find the matching Fedora release (probably 44 or 43). Click the x86_64 RPM package to go to its page. Scroll to the bottom and find the “Download” section, then copy the “Binary Package” link.
Download the stress RPM package to a temporary folder:
mkdir /tmp/stress
cd /tmp/stress
wget <PASTE LINK>
Extract the RPM package to retrieve the underlying binary:
7z x stress-*.x86_64.rpm
7z x stress-*.x86_64.cpio
Copy the binary to the a writable location. If ~/.local/bin doesn’t exist, create it with mkdir -p ~/.local/bin
sudo cp usr/bin/stress ~/.local/bin/stress
Run stress to ensure that stress is available and ready to use. You should see a list of available commands.
Step 2: Install bc250-smu-oc Utility
Now that the dependencies are installed, we can install the utility:
git clone https://github.com/bc250-collective/bc250_smu_oc.git
cd bc250_smu_oc
pip install .
Bazzite Note: The script is hardcoded to read the stress binary at
/usr/bin/stresssince it doesn’t exist, the program errors out. To fix this editstress_helper.pyand change:
_process = subprocess.Popen(["stress", "--cpu", "12"], ...
To:
_process = subprocess.Popen(["/home/[YOUR_USERNAME]/.local/bin/stress", "--cpu", "12"], ...
Optimal Overclock Detection
Stress will be used to stress-test the CPU and evaluate the most optimal overclock settings that are stable for your BC-250. It will also calculate how far it can undervolt and be stable.
bc250-detect --frequency 4000 --vid 1275 --keep
If this command crashes, try re-running the command with --vid 1300. If it still is not stable, reduce the target frequency. To be easy on your system, you should stay below 1300mV.
If you wish not to overclock but only undervolt you may use these settings to stay at stock frequency.
bc250-detect --frequency 3500 --vid 1000 --keep
After your detection completes, you will have a overclock.conf file. Give it a look! These are the results I got.
[overclock]
frequency = 3800
scale = -34
max_temperature = 90
Disable zram: Enable zswap
Whether using Bazzite or CachyOS, ZRAM compressed swap causes crashes in memory-hungry games. The recommended fix is to replace ZRAM with zswap and a disk-backed swap file.
- Disable zram
systemd.zram=0
Limine
Grub
Proper shadercache setup
By default, the system allows for up to 1GB of shader-cache to be compiled. After that it forgets old shader cache and rebuilds the new ones on top of it. Heavy games will require more shader cache so I’ll increase the max shader-cache size.
Edit /etc/environment add this line:
MESA_SHADER_CACHE_MAX_SIZE=5G
I like to give it 5GB, but feel free to bump it up. This is just the max potential size of the shader cache, so you aren’t wasting any space by raising it right now.